Making a Simple Room, and your first map
Now that you’re set up, lets get mapping!
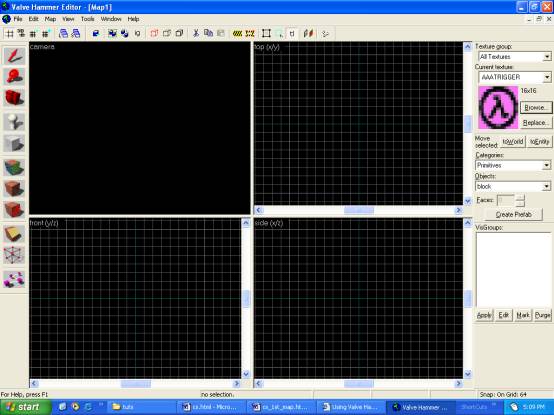
- Go to the File menu and select New. Now hammer will open up with something that looks like this:
- Now click File and then save when Hammer asks you what to name the world, type “Simple1”. This is the name your world will have when you go to open it in Hammer. Tip: The name you provide is also the name of the worlds files on your hard drive (Simple1.RMF ) . Later we will cover how the project is written to your hard drive.
Use the buttons in the Toolbars to make new worlds, switch modes, and run your world. You can learn an individual buttons function by holding your mouse over it to get a Tool Tip.
There are four viewpoints that provide windows onto the world you 're building. Each one presents a different view of the world. The upper left window shows you a Perspective view shot from a movable camera point in the level. The other three views have a fixed view camera that displays either Top, Front or left view (going in clockwise order).
You'll spend a lot of time working with these views.
In the Status Bar, Hammer provides information about the level or about the view you 're currently in. Well get into the depths of the user interface in later chapters, although you 're welcome to stop and explore if you 'd like. Use the Tool Tips and the Status Bar to learn more about what the controls do.
In the VIS Groups, Hammer provides information about the Visible groups, which you have made. We will do this later on.
In the Entity, Brush, and Prefab lists, Hammer provides all the brush types, prefabs that you have made, or entities that you can place in your map.
In the Textures, Hammer shows each image that you can use in game, along with a thumbnail of what it looks like. Clicking browse enables you to search through each wad that you have set up by key word, or by looking at each one. All images in the browse menu are show at real size, and not thumb nail size.
![]()
Lets Start!
Our first world is going to be very, very simple. Were going to make a box with a light.
- Selecting the Texture
Even though this level is extremely simple, well still want to texture it.
a) Use your mouse to select the Textures list on the right hand side of the screen. This list is where you select textures to apply to your brushes.
b) In the top section of the Textures list there is a texture named AIR_C1, if you can 't see it, scroll down the list until you find it, once you find it left click once on this thumbnail. The drop down box should now be gone, where you had the T or A thumb nail, you should now have a thumb nail with a black circle in the middle of it.
- Placing Your Very First Brush
a) To actually start putting brushes into your world, first move your mouse pointer over to the middle left of the screen and left click once on the block tool. You can also use shift + b as a hot key for it.
b) Now move the mouse over to the grid. (A thing to keep in mind when using hammer is that if the view ports are your eyes, then the marker is your hand).
c) Left click and drag on the grid, and move the mouse. You should have a box expanding from where you clicked the mouse. This box is a brush.
d) To place the brush, right click, and chose from the context menu "Make Object", or just press the enter key.
e) If this brush is to big, you can re size it by clicking on the x in the middle of the brush (or one of sides of the brush), and use the drag handles to re size the block. You will note that Hammer, has scroll bars on its view ports, these are to move around the build grid, and they automatically scroll when you move, or make your brush go past the side in one of these view ports.
f) Now that you have made your first brush, undo it by pressing ctrl + z, or click edit, undo, in the menu 's. Do this until you have no brushes, and all your actions have been undone. This is because I don 't know how big you made your brush; the next room can be tricky, so undoing the brush is worthwhile. The undo is also useful if you make a mistake in your map, or a part of it looks wrong. You can undo up to 150 actions, but be careful, as redo can cause problems in your map.
- The First Map Making the Walls
a) Get the block tool active, and draw a box that will be 4 units long, and 1 unit wide, in the top view port.
b) Make the brush by pressing enter. Now in the side view port, click the block, and drag it down so that the block is also 4 units tall.
c) Now select the brush and press ctrl + c, to copy the brush, then click any blank part on the grid, and press ctrl + v. This KISS (keep it simple stupid) is very useful for brushes that are repudiate, such as a hall. Now align the pasted brush so that its 4 units away from the other one, in both top, and side views.
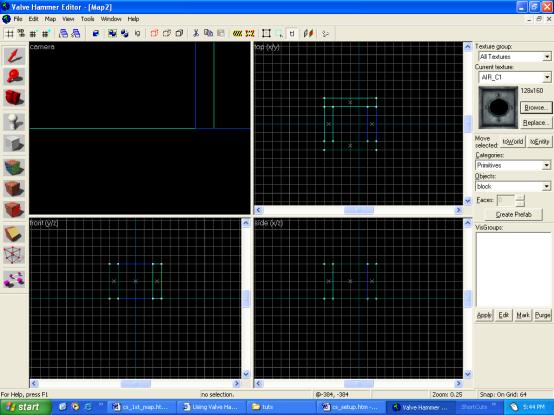
d) Build new brush, this time in top view that is 4 units wide, and 1 unit thick, and make it 4 units tall in side view. Do the same as the last wall, and copy, and past it, so that you have an open cube that looks like this:
- The First Map Adding the Roof, and Ground. Now you have your walls, its time to start on the roof, and ground, heres how –
a) Build a brush from the top left hand corner, in top view, to the bottom left corner.
b) Align this brush to the top of your open cube -this will be your roof.
c) Copy, and past this brush, then align it to the bottom of the cube, to make the cube -this is your ground, and now your cube is closed in.
The end result should look like this:
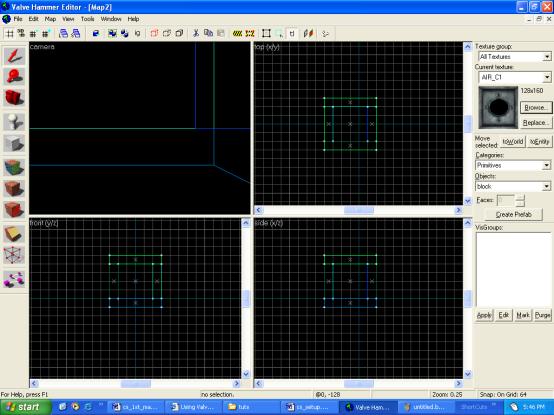
This is the basic for your first map. You have your map, now it’s on to adding the entities that make the map playable.
![]()